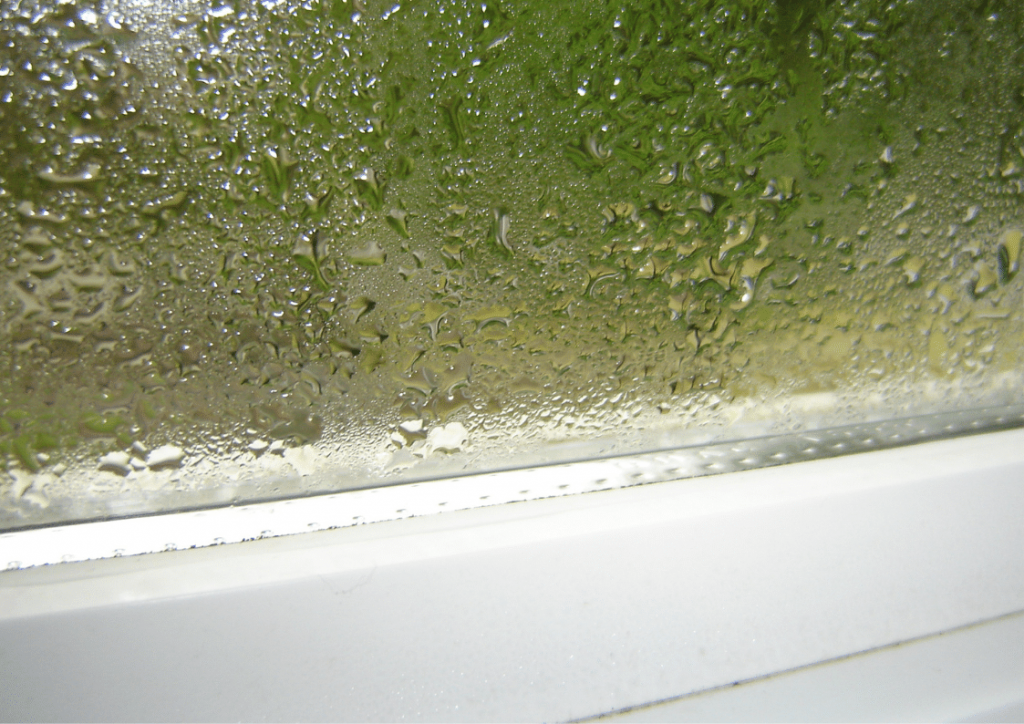
Finding the interior of your dryer covered with condensation can be unsettling. However, it is relatively easy to fix by yourself in a short period without the need to call in a repair professional.
The humidity in a poorly ventilated laundry room can be downright stifling. However, it doesn’t always indicate a significant problem with your washer or dryer. In fact, there is a fairly straightforward explanation for why condensation occurs, that being a clogged lint trap and obstructions in the ducts used to vent the dryer.
In this post we’ll give you some solutions for removing excess moisture from the air of your laundry room along with simple solutions that will have your laundry room dry and condensation free in no time!
While our focus is on condensation from the clothes dryer, you might be dealing with general high humidity in the laundry room.
If that is the case, you can check out our post about hot and humid laundry rooms where we go over all the reasons your laundry room is jungle sticky and what you can do about it.
What causes condensation to form in a drying room?
The primary reason clothes dryers generate excess condensation is because improper ventilation has caused moisture extracted from wet clothes to be cycled back into the closed environment of the drying room.
This causes humidity to be raised and condensation to begin forming on any cool surface.
The formation of condensation is caused by the collision of warm, wet air against a cooler surface or air that has a comparably lower temperature. Because the warmer air cannot retain the moisture under such conditions, the moisture is transferred to the surface or shared amongst the colder air.
In the case of laundry rooms condensation is typically the pre-cursor to mold developing.
How to diagnose condensation from a tumble dryer
Condensation can form in your dryer for several causes; the four most common are:
- A full lint trap.
- A clogged vent system.
- An incorrectly positioned vent.
- The absence of a vent flap or booster in the venting system.
Let’s break down the common culprits causing condensation in your dryer. By the time you finish reading our checklist, you should be able to identify the cause of the condensation and know how to remedy it.
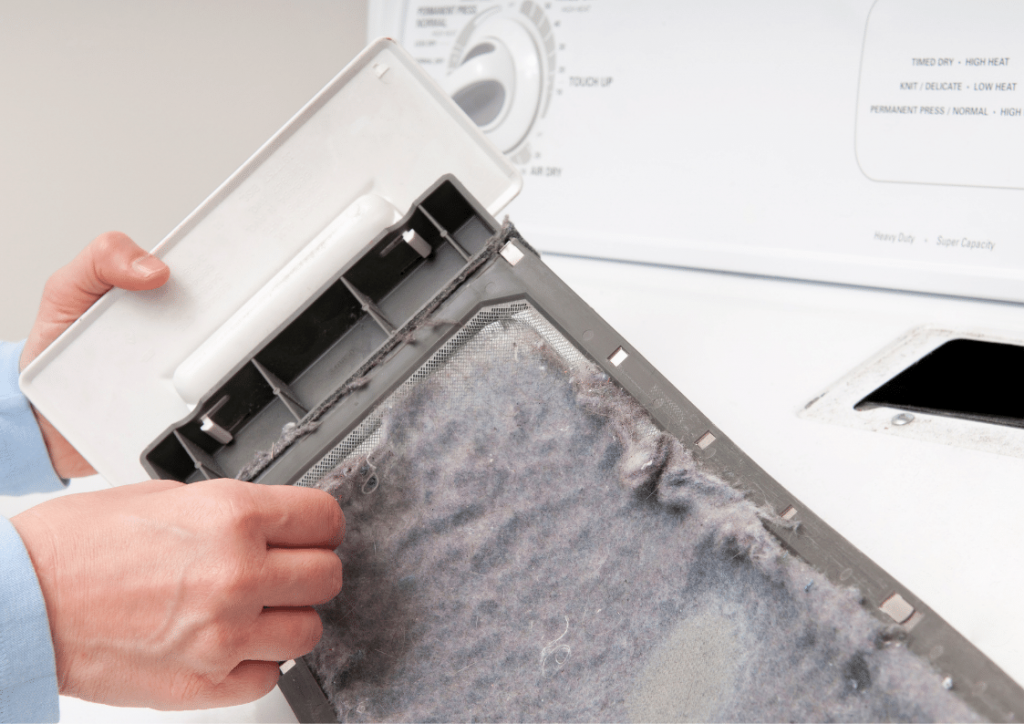
Step #1 Clean out the lint trap
To stop your dryer from forming condensation, the easiest thing you can do is clean out the lint trap, which is a feature of the machine designed to capture clothing fibres and prevent them from entering into the
When the trap is densely packed with lint, your dryer won’t be able to expel the hot air moist air generated during a cycle, which causes condensation to form inside the dryer drum when it begins to cool.
After every few drying cycles, you should at least check the line trap to see if it needs cleared. Don’t let it get to the stage where the lint begins to form an obstruction.
To clean the vent, you simply just have to take the lint out of the dryer and throw it away. A vacuum cleaner can easily ensure you have removed every fibre of lint but it’s not entirely necessary to make sure the vent is that clean. Once the vent is clear, put it back in the dryer and move on to the next step.
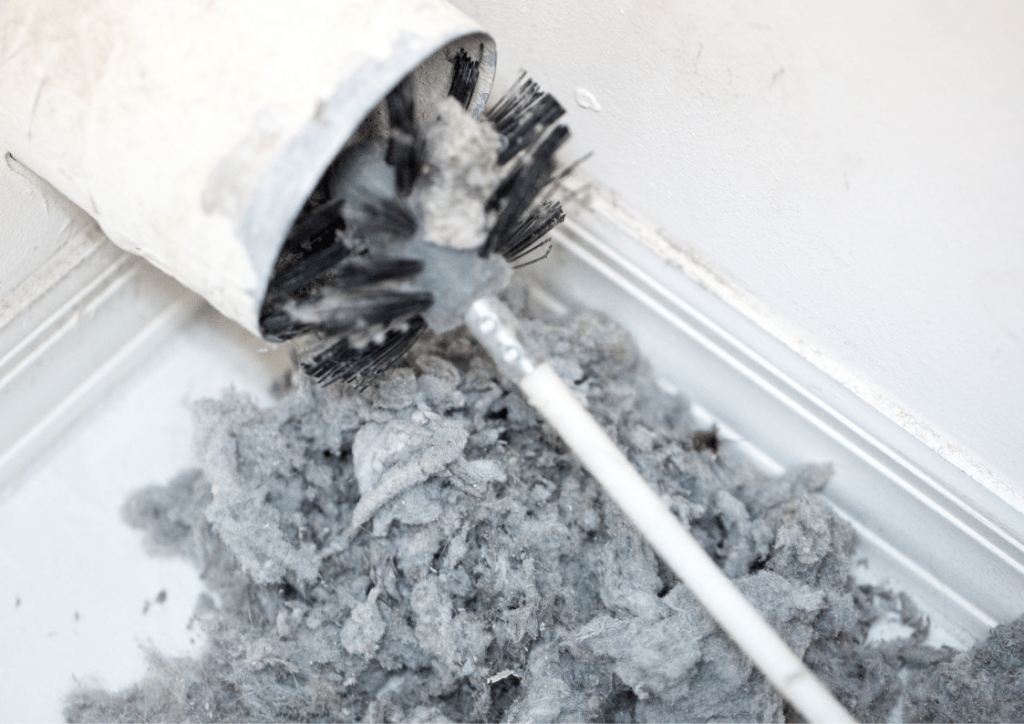
Step #2 Clean the vent and ductwork
Keep your deep cleaning going and vacuum out the vent pipes and ducts. This should be done often to keep lint from building up with most manufacturers saying it should be cleaned out thoroughly at least twice a year.
Here are the steps to clean the vent:
1. Turn off the power and gas to your dryer. Pull out the plug from the wall and if you have a dryer that runs on gas, turn off the gas supply.
2. To take the vent off the dryer, you might first have to pull it away from the wall. If a clamp holds it in place, you must loosen it before removing the vent.
3. Next, pull the exhaust pipe away from the wall.
4. Disconnect the vent and hose from the back of the dryer. Remove any lint you can see and use a damp cloth to thoroughly clean it. Using the suction from a vacuum cleaner is also a great way to clean out the hose and vent. After the vent and hose have been cleaned, put them back on the dryer and securely reconnect them.
5. Go outside your house and find where the dryer’s exhaust exits your home. Make sure there are no blockages there. If you can use a vacuum on this end, that is a great way to ensure there is no trapped lint.
6. After cleaning the lint trap/filter and the vent system, turn on your dryer again to see if the problem with condensation has gone away. If not, go to the next step.
Step #3 Make sure the vent is positioned correctly
If your dryer still has a problem with condensation after you’ve cleaned out the lint trap and vent system, check that the vent is in the right place.
In some older homes, the vent might go up through the attic, creating more heat and returning to the dryer. Due to fire risks, dryer vents usually don’t go through the attic, but in some homes this is the only way to set up a vent.
Your vent may also go through an outside wall or under the house. This makes the vent pipe longer, which makes more condensation.
If your vent is not in the right place, check to see if it can be moved so it is shorter and goes outside faster. Your vent might be able to go through a window instead.
Step #4 Put a booster or vent flap in place
You might be able to install a dryer vent flap to help cut down on the amount of condensation.
The vent flap is meant to open while the dryer runs so that hot air can get out. When the cycle is over, the flap shuts. If your dryer has a vent flap, check to see if it is stuck or blocked.
If the flap is broken, it will need to be replaced. Luckily, this is not a complicated or expensive task. If your dryer doesn’t have a vent flap, you might want to buy one and put it on your vent system.
You could also put in a vent booster (sometimes called a forced vent).
A fan is attached to these parts, which helps move more air out of the vent. This decreases the amount of hot air that stays in your dryer, which can cause condensation. These boosters usually cost a couple of hundred dollars and can be installed by yourself.
In conclusion
It’s essential to remedy the condensation problem quickly because excess moisture can lead to mold and musty smells, resulting in new and more complex problems to solve.
One of the most common reasons a dryer has condensation is that the lint trap or ducts are clogged. Wet dryers can also happen when there isn’t enough ventilation, air flow, or ducting.
Most condensation problems are usually easy to solve on your own but if you have gone through the troubleshooting steps in our guide and still have moisture issues, it might be time to call a dryer repair service.
Sources
https://www.doityourself.com/stry/how-to-prevent-dryer-vent-condensation