A great storage solution that helps to reduce waste in the kitchen is cleaning and reusing glass food jars. It’s how I store all my homemade produce like jams and preserves and it’s a great way to split and store food if you cook in large batches.
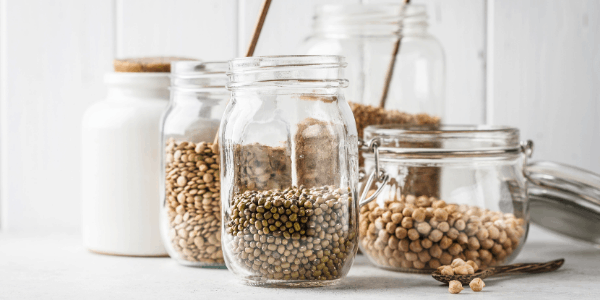
Glass storage jars are also super useful if you have a wholefoods store near you with refill station. Here you can buy loose grains, cereals, and other pantry foods without the packaging. Take your clean, empty jars straight instore and have them filled with your choice of goods.
Not only does this save on a huge amount of unnecessary plastics, but it also makes your pantry shelves look beautiful!
This post may contain affiliate links. Find out more in our Disclosure
Now obviously you can buy new jars in all different shapes and sizes from many places like supermarkets and even sometimes second-hand shops, but these will still need sterilising before use. Plus, why buy what you already have?!
Saving jars from foods that you normally buy and use saves you money. And hey, it might also make you try a new product if you like the look of the jar in comes in!
I save jars of all different sizes as there are so many uses for them and it’s a great way to keep food fresh. However, they must be cleaned and sterilised properly before use.
Below I have set out the easy and chemical-free steps you’ll need for cleaning, sterilising and removing sticky label residue so you can safely reuse jars over and over again.
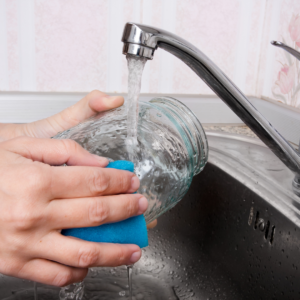
Step 1 – Cleaning
The first step in your jar reuse journey is simply to give them a good old clean. I rinse out empty glass food jars and lids straight after use and then wash them with my other dishes when I’m doing the washing up.
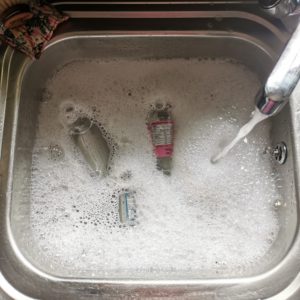
Step 2 – Removing labels
After I’ve finished the dishes, I refill my basin with clean, soapy, hot water and soak the jars in it for a couple of hours or over-night. For most jars this is all that is needed to remove the label and the sicky residue should wash straight off after soaking too.
I’ve also found that if I’m in a hurry, adding ½ a cup of white vinegar to the soapy hot water helps to speed up the soaking and label removing process.
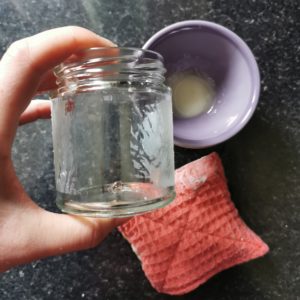
Stubborn labels
You may find however, that some manufacturers use super strong glue on their labels. This can leave a very stubborn sticky mess that needs extra cleaning.
For this, try mixing together equal parts cooking oil and baking soda in a small bowl (a teaspoon of each should be plenty), then apply it to the label residue and scrub with a dish cloth or scrubbing brush.
I find that jars with clear, plastic labels are much worse to remove than paper labels, so I do keep this in mind when saving jars.
Once your jars are clean, rinsed and their labels removed you can dry them and store until you are ready to sterilise and use them.
Step 3 – Sterilising
Glass food jars should be sterilised just before use and then used straight after to make sure they are completely free of any bacteria or other nasties that might spoil your stored food.
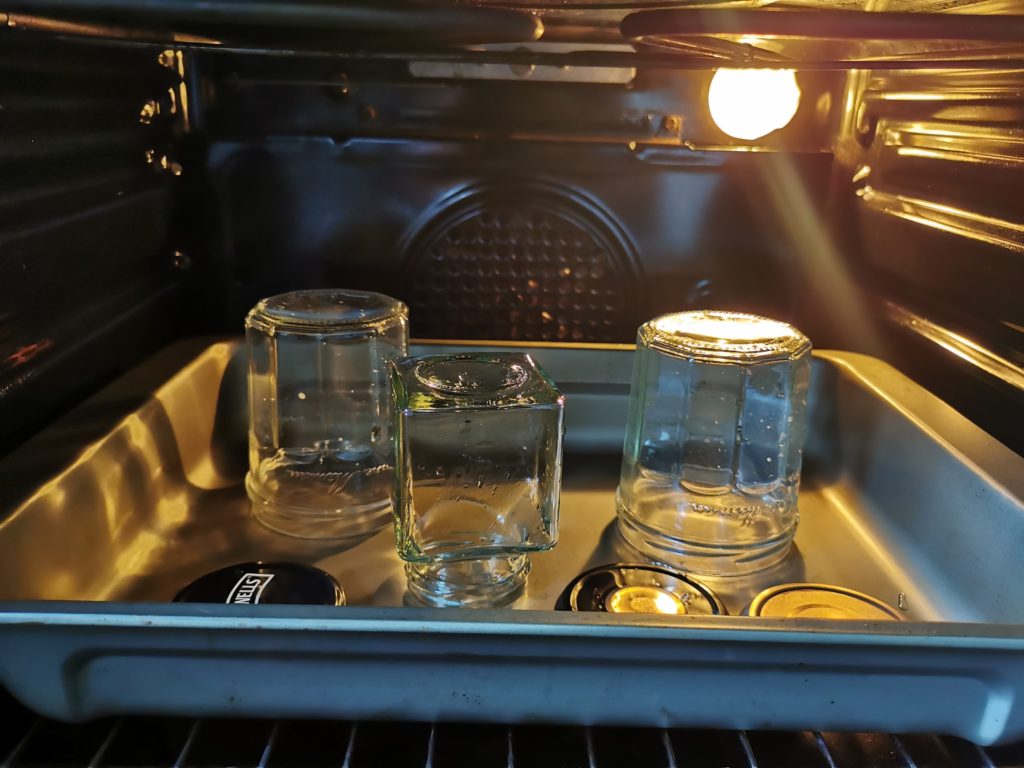
There are many ways to sterilise glass, but an easy and chemical-free way is by using your oven. Follow the steps below to sterilise the jars and metal lids just before use:
- Pre-heat your oven to 140C for a fan oven or 120C for gas
- Wash the glass jars and lids again in hot soapy water. This time rinse them in hot water but do not dry.
- Place the wet jars upside down and the lids face down on a metal ovenproof tray
- Place the tray of jars and lids in the preheated oven for 15 minutes.
- Take care when removing from the oven. The jars and lids will be very hot and they hold their heat for a while after too.
It’s a good idea to always sterilise one or two more jars than you think you might need, just to ensure you have enough.
Rubber seals
Remember, if you are re-using jars with rubber seals, remove the rubber seals before placing the jars in the oven. The dry heat will damage them and they will become unusable.
Instead, bring a pan of water to the boil and place the rubber seals in the water. Boil them to sterilise for 10 minutes. The jars can be sterilised in the oven as mentioned above.
Food health and safety tip
If you are making your own jam or chutney, you should pour the preserve into clean, sterilised jars when they are still hot. Start prepping your jars about 20 minutes before your preserves are ready so that they can be jarred while hot.
Lids
Once you have filled your sterilised jars with your preserves, pop the lids on to seal them straight away.
If you are reusing the same jars over and over, keep an eye on your lids. You don’t want them to go rusty. If you see rust appear or any other damage, then it’s time to replace them.
Damaged or rusted lids wont sterilise or seal properly and are dangerous to use.
If you are making a large batch of preserve and need to store jars for longer, use wax paper. Adding a waxed paper disk to the top of the jam will form an extra barrier and stronger seal. Do this while the jam is still warm and then seal with a lid.
Labels
Don’t forget to always label and date your jars after filling! You can use anything that you can write on, as long as you can attach it securely so that it wont fall off. I either make my own card labels attached with twine or I use these reusable chalkboard stickers labels. I find them really handy and quick to use as you can wipe them clan with a damp cloth and they are ready to be used again.
On the label, note down what the contents are and the date that you made it. You can usually find the shelf life stated within the recipe so note down any expiry date too. It’s also handy to pop the ingredients on if it contains something like nuts that can cause allergies.
Secure your labels onto your jars and store in a cool, dark place or fridge depending on the recipe.
Most homemade jams will last around a year if left sealed. However, once opened store in the fridge and use within 2-3 months.
So there you have it, a thrifty way to reduce plastic and reuse glass food jars safely in the kitchen. Ready to get started? Find my recipe for Wild Garlic Pesto here.
Thanks so much for reading,
Dee
Pingback: Foraging For Wild Garlic & Making Pesto